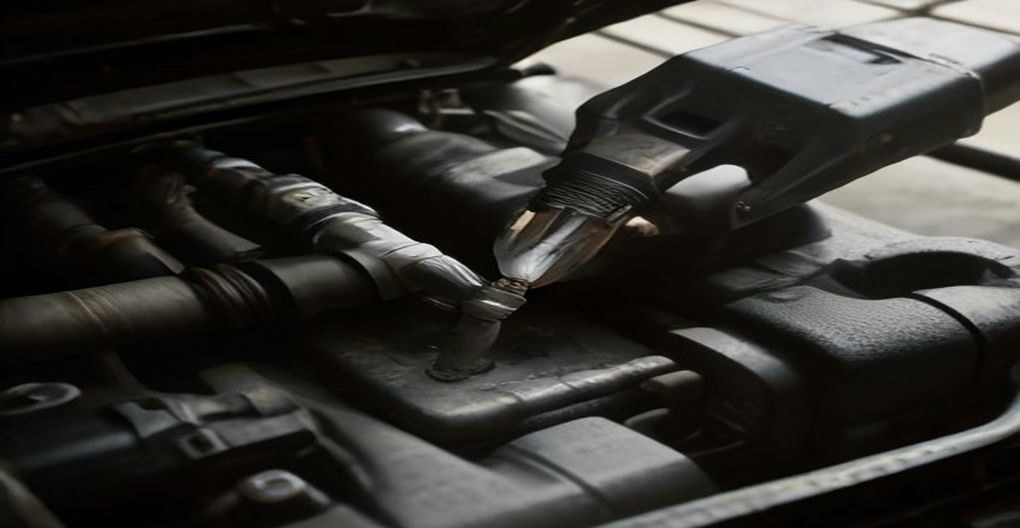
Spark plugs are small, cheap, and absolutely critical — they’re what actually ignite the fuel in your engine, thousands of times per minute. When they wear out, you get misfires, rough idling, hard starts, and worse fuel economy. The good news: on most four-cylinder and many V6 engines, swapping them is a genuinely approachable DIY job that shops charge $150–$300 in labor for.
This guide covers how to change spark plugs the right way: the tools that make it easy, the gap and torque specs that matter, a numbered walkthrough, and the mistakes that turn a simple job into a cylinder-head repair. Read the whole thing before you start — the warnings section alone can save you a very expensive day.
How to Change Spark Plugs: Tools and Materials
- Correct spark plugs — buy the exact plug specified for your engine (check the owner’s manual or the under-hood emissions sticker). Don’t “upgrade” to a different heat range unless you know why.
- Spark plug socket — 5/8″ or 13/16″ depending on your plugs, with the rubber insert that grips the plug. A regular deep socket will drop the plug into the well.
- Ratchet, extension(s), and possibly a universal joint — plug wells can be deep and angled.
- Torque wrench — non-negotiable. Over-tightened plugs strip aluminum cylinder heads.
- Gap gauge — wire-type or feeler gauges. Even “pre-gapped” plugs should be checked.
- Compressed air or a blow gun — to clear debris from the plug wells before removal.
- Dielectric grease — a dab inside each coil boot prevents sticking and moisture.
- Anti-seize — a tiny amount on plug threads (check your plug manufacturer’s guidance; many modern coated plugs specify none).
- Penetrating oil — if the plugs have been in there for 100,000 miles.
Difficulty: 2–3/5 — beginner-intermediate. Time: 1–2 hours (longer on V6/V8s with buried rear banks). Cost: $20–$60 for plugs.
When Should Spark Plugs Be Replaced?
- Copper plugs: every 20,000–30,000 miles
- Platinum plugs: every 60,000 miles
- Iridium plugs: every 80,000–100,000 miles
Replace them sooner if you notice rough idle, hesitation under acceleration, poor fuel economy, hard starting, or a flashing check-engine light (misfire codes like P0301–P0308). Replace all plugs at once — never just the one that misfired.
Step-by-Step Spark Plug Replacement
Step 1: Work on a cold engine
Let the engine cool completely — at least a couple of hours after driving. Removing plugs from a hot aluminum head dramatically increases the risk of stripping the threads. This is the single most ignored rule in DIY plug changes.
Step 2: Disconnect the battery (recommended)
Remove the negative battery cable. You’ll be handling ignition coils and connectors, and this eliminates any chance of a short or an accidental start.
Step 3: Remove engine covers and locate the plugs
Pull off any plastic engine cover (they usually lift off or have a few fasteners). On coil-on-plug engines, each plug sits under an individual ignition coil held by one small bolt. On older engines with plug wires, note which wire goes where — label them with tape so they go back on the correct cylinders.
Step 4: Blow out the plug wells
Before loosening anything, blast compressed air down each plug well. Grit and debris collect around the plugs, and if it falls into the cylinder when the plug comes out, it can score the cylinder walls. This 30-second step matters.
Step 5: Remove coils or wires, one cylinder at a time
Unbolt one coil, disconnect its electrical connector, and pull it straight out. Work one plug at a time — this prevents mixing up coils and wires and keeps debris out of the open wells. Stuff a clean rag into any open well while you work.
Step 6: Remove the old plug
Fit the spark plug socket with an extension, seat it fully on the plug, and turn counterclockwise. If a plug resists, don’t muscle it — spray penetrating oil, wait 15 minutes, and try again. Forcing a seized plug can snap it off in the head, which is a nightmare repair.
Step 7: Gap the new plug
Check the gap with your gauge against the spec on the under-hood sticker (commonly 0.028″–0.060″ depending on engine). Adjust gently by bending the ground strap — never pry against the center electrode or the iridium/platinum tip. Iridium tips are brittle; one careless tap ruins the plug.
Step 8: Install the new plug by hand first
This is the critical step. Thread the new plug in by hand using just the extension (no ratchet) so you can feel it engage. It should turn smoothly for several full turns. If you feel resistance early, back it out — it’s cross-threading. A plug started straight will spin in easily; a plug started crooked will destroy the head’s threads.
Step 9: Torque to spec
Once finger-tight, torque to the manufacturer’s spec — typically 11–15 ft-lbs (15–20 Nm) for most passenger cars with a flat-seat plug, or follow the “turn past finger-tight” spec (often 1/2 to 2/3 turn for new gasketed plugs, 1/12 turn for tapered-seat). Check your service manual; specs vary. Snug is not a torque spec.
Step 10: Reinstall the coil, add dielectric grease
Put a small dab of dielectric grease inside the coil boot, push the coil back onto the plug until it seats, and reinstall its bolt (usually just snug, around 7–10 ft-lbs). Reconnect the electrical connector until it clicks. Repeat for each cylinder.
Step 11: Reconnect the battery and test
Reinstall the engine cover, reconnect the negative battery cable, and start the engine. It should idle smoothly within seconds. Take a test drive including some moderate acceleration. If the check-engine light comes on or it runs rough, recheck that every coil connector clicked fully home — that’s the cause 90% of the time.
Common Mistakes That Cause Expensive Damage
- Cross-threading a plug. The #1 DIY disaster. Always start plugs by hand, feeling for smooth engagement.
- Over-torquing. Stripped plug threads in an aluminum head mean a helicoil repair or head removal. Use a torque wrench, every time.
- Working on a hot engine. Aluminum expands when hot; threads gall and strip far more easily.
- Skipping the gap check. “Pre-gapped” is a factory target, not a guarantee — plugs get knocked around in shipping.
- Dropping the plug. If a plug hits concrete, the ceramic insulator can crack invisibly. Inspect carefully; when in doubt, use a fresh plug.
- Mixing up plug wires on distributor engines — label everything before removal.
- Using anti-seize on coated plugs that forbid it. Many NGK and Denso plugs have anti-seize plating from the factory; adding more alters torque values and risks over-tightening.
When to Call a Professional Instead
Do it yourself when the plugs are accessible. Call a shop when: the rear bank of a transverse V6 requires intake manifold removal (a much bigger job), a plug is seized and won’t budge with penetrating oil, a plug breaks during removal, or your engine has plugs buried under components you’re not comfortable removing. There’s no shame in stopping — a $200 shop bill beats a $2,000 head repair every time.
Done carefully, a spark plug change is one of the most satisfying DIY jobs: you’ll literally feel the difference on the first drive. Smooth idle, crisp throttle response, and money still in your pocket.